


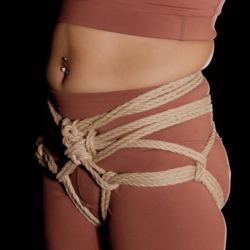


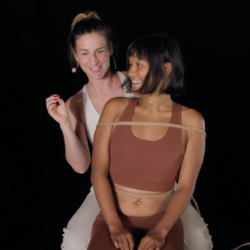
Thanks for your question! As Gigi says, that last rope can be helpful, especially if your hips are a heavy part of you. Remember that, once in suspension, all of the rope will get much tighter. That said, you could also definitely tie it with a little more tension than shown here and talk with your bottom about any preferences they have too
Shibari Study Support
Berlin, Germany
Replied on Mermaid Tie | Class
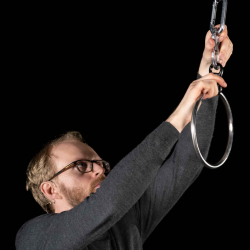
Replied on Epsilon | 'Y' Hanger
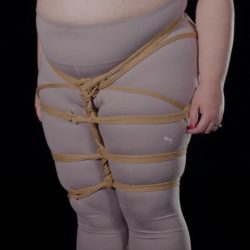
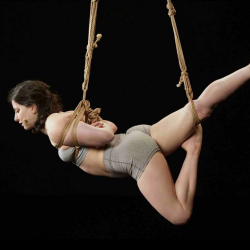
Replied on Basket Tie
Replied on Upper Lock-offs
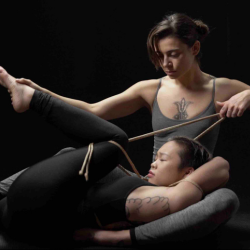
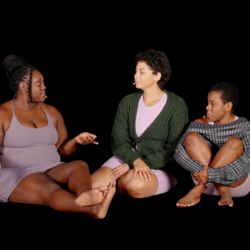
Replied on How To Start
Replied on Diamond Harness | Tutorial
Replied on Diamond Harness | Tutorial
Replied on Connective Uplines
Replied on Xana Harness | Demo
28 Feb 15:10
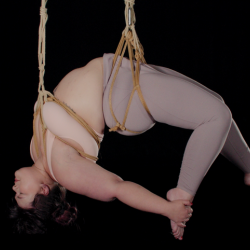
Yes! You can see the self-tie version in action here.